Coral acclimation seems optional until your new frags bleach, close up, or die. Even the hardiest coral can crash if it’s moved too quickly from one environment to another. In this guide, I’ll walk you through how to acclimate your corals properly. Whether you’re unboxing your first softie or adding a high-end acro to your aquarium.
Table of Contents
Key Takeaways
- Acclimate all new corals to prevent shock, stress, and bleaching.
- Always start with temperature acclimation, then move to drip acclimation.
- Use a coral dip to remove pests like flatworms and nudibranchs.
- Start corals low in the aquarium and gradually increase light exposure.
- Consider quarantining frags before adding them to your display tank.
- Different coral types require different acclimation care, softies are forgiving, SPS are not.
Why Coral Acclimation Matters
Corals hate surprises. Moving them between systems exposes them to rapid changes in temperature, salinity, pH, and lighting. Like being dropped from a beach into a blizzard.
I’ve seen healthy LPS melt within hours over a 2°F difference.
Fast changes lead to osmotic shock, stress responses, and even tissue loss. Acclimation slows that transition. It gives your new coral time to adjust, open up, and thrive in your tank.

What You Need to Acclimate Corals
Here’s your coral acclimation checklist:
- A clean container or bucket
- Airline tubing and a valve or drip acclimator
- Thermometer
- Salinity and pH meter (optional)
- Towels and spill buckets
- Coral dip (e.g., Bayer, Revive, iodine-based)
Test your tank’s parameters beforehand. Acclimation doesn’t fix unstable water.
Coral Acclimation Process

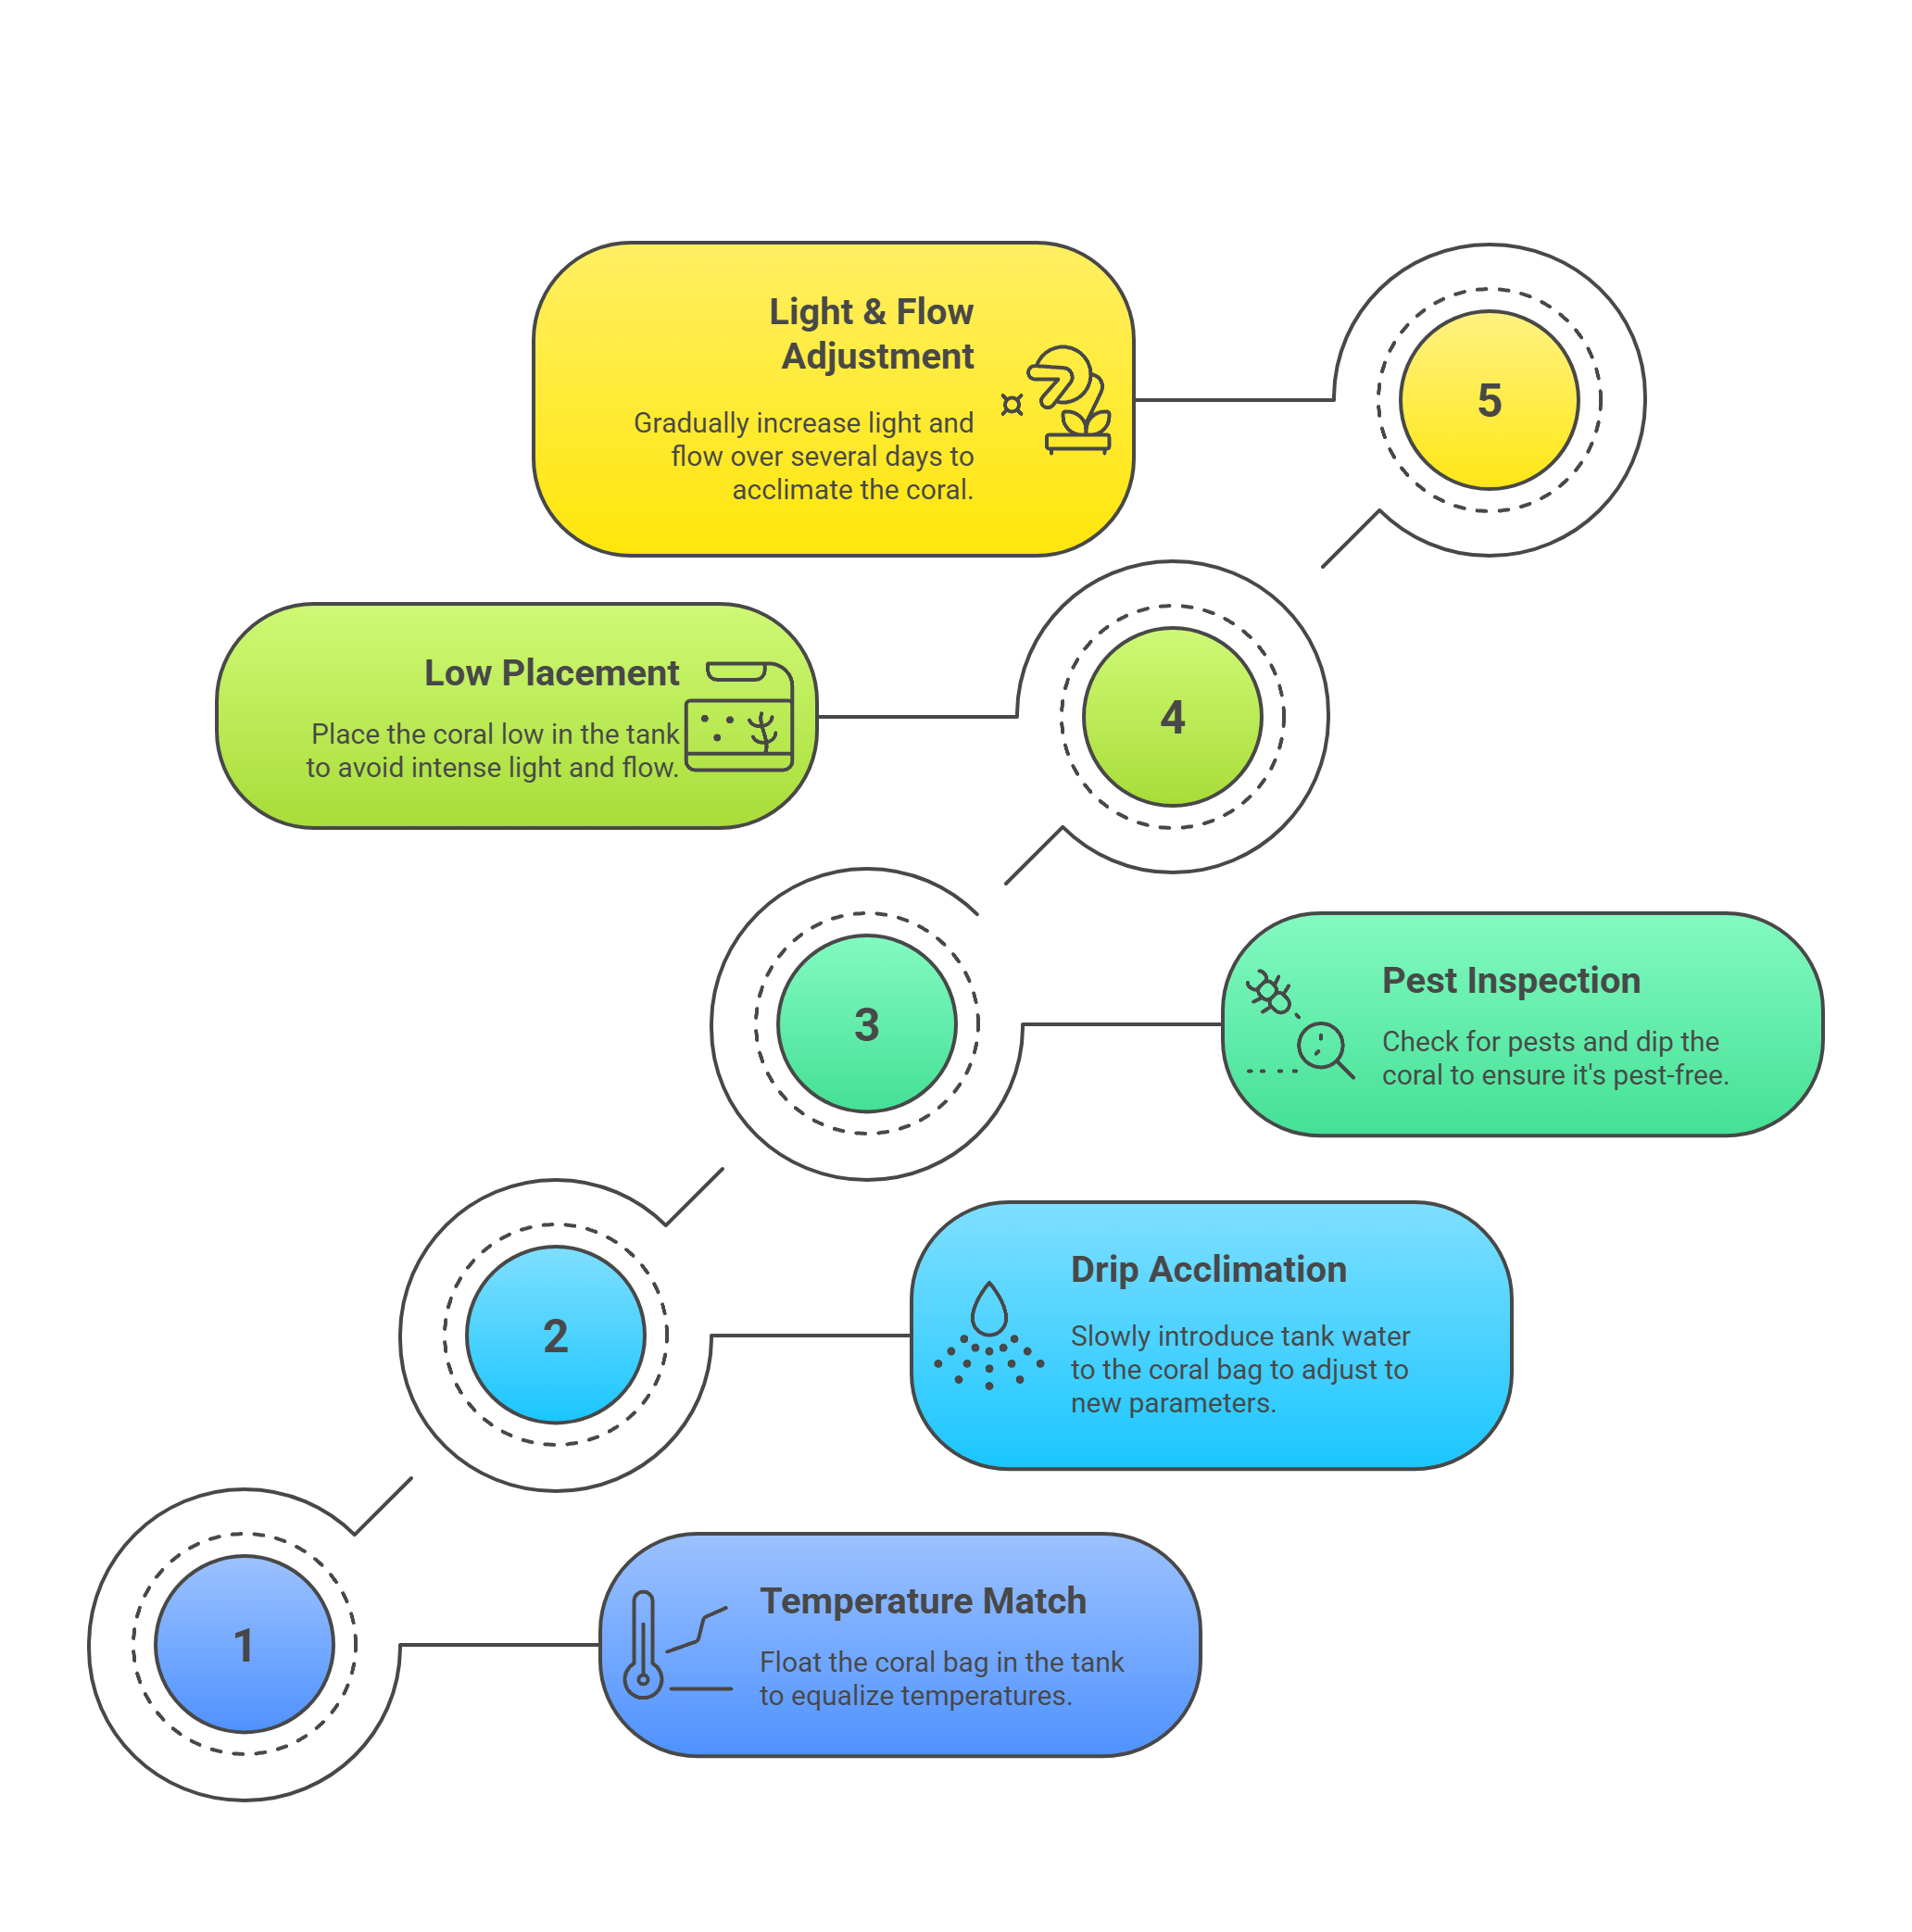
Step 1: Temperature Acclimation
Float the sealed coral bag in your sump or tank for 20–30 minutes. This equalizes the temperature without letting bag water enter your system.
Why?
A 3°F difference can rupture coral cells. Thermal shock kills fast. Use a thermometer to confirm the bag matches your tank before moving on.
Step 2: Parameter Acclimation (Drip Method)
Cut open the bag and pour the coral and water into a clean container.
Use airline tubing to siphon tank water into the container. Add a valve or tie a loose knot to control the drip for 2–4 drips per second.
Run this for 45–90 minutes. This slowly adjusts salinity, pH, and nutrients.
I once received a zoa frag in 1.021 salinity. My tank runs 1.025. That is too big of a swing of salinity and would have stressed out the coral.
Step 3: Pest Inspection and Coral Dip
Before placing the coral in your tank, inspect for pests: aiptasia, flatworms, nudibranchs, or eggs. Even hardy softies can carry hitchhikers that spread fast.
When in doubt, dip.
- Follow the dip instructions exactly (duration, dilution, rinse)
- Rinse the coral in clean saltwater afterward
I’ve used some Bayer weed killer in the past, but now seems sketchy. I now use Coral RX.
Step 4: Coral Placement and Lighting
Place the coral on a frag rack or the sand bed and avoid high light and strong flow at first.
Corals used to dim frag tanks can bleach under bright LEDs, especially if PAR levels spike too fast.
- Start low in the tank
- Gradually move higher over 1–2 weeks
- Or start at 30–50% light intensity and ramp up
Use a PAR meter if available:
- Soft corals: 50 -120 PAR
- LPS: 75 – 150 PAR
- SPS: 200 – 400 PAR
Should You Quarantine New Corals?
If you want to play it safe, consider quarantining new frags in a separate tank for 2–4 weeks. This lets you observe for pests, diseases, or allelopathy (chemical warfare) without risking your display tank. You can still acclimate normally before moving the coral to QT.
I’ve never done this before, but for some of you it may be an option.
Common Coral Acclimation Mistakes
- Rushing the process: Skipping the drip step causes osmotic shock.
- Adding bag water to the tank: Risk of parasites, pollutants, or medications.
- Skipping the dip: Hitchhikers can infest your tank.
- Placing under high light immediately: Leads to bleaching or RTN (Rapid Tissue Necrosis).
Tips for Specific Coral Types

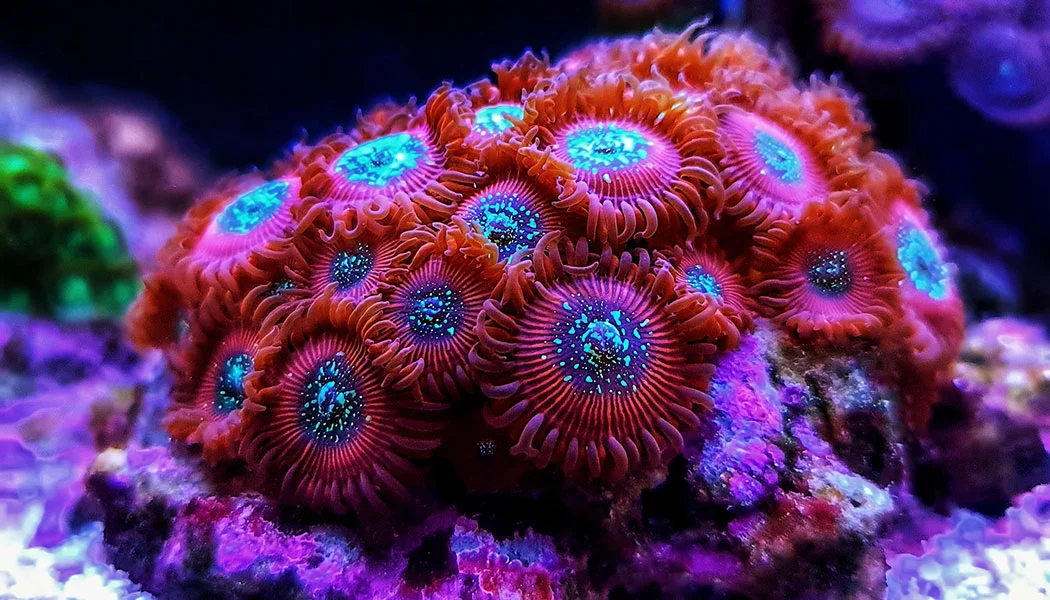
Soft corals (zoas, mushrooms, leathers)
- Tolerating parameter swings
- Still benefit from dips (especially zoas)
LPS (euphyllia, acans, chalices)
- Sensitive to salinity and flow
- Prefer slower acclimation
SPS (acro, monti, birdsnest)
- Need stable parameters
- Prone to light shock
- Never skip drip or light acclimation
Final Thoughts
Coral acclimation is cheap reef insurance. It takes 90 minutes, but it can save you $90 frag (and your sanity).
Want to start with an easier species? Check out our guide to the Best Soft Corals for Beginners and grow your reef with confidence.
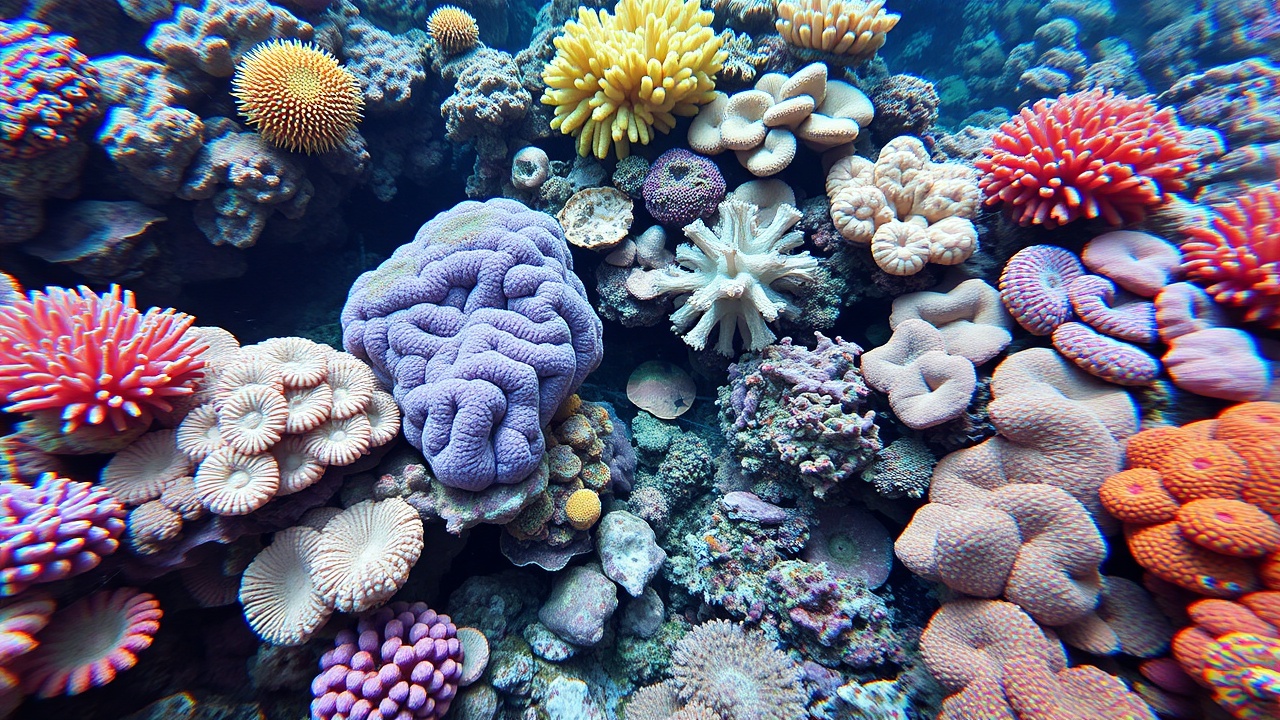
 Mixed Reef Tank

